Difference between revisions of "Non-invasive Head Fixture"
From NeuroTychoWiki
(Created page with "{| class="wikitable" |- Illustration || Procedures | |- |400px || |- |400px || |- |400px || |- |400px...") |
|||
| (One intermediate revision by the same user not shown) | |||
| Line 2: | Line 2: | ||
|- Illustration || Procedures | | |- Illustration || Procedures | | ||
|- | |- | ||
| − | |[[File:HF01.jpg|400px]] || | + | |[[File:HF01.jpg|400px]] || |
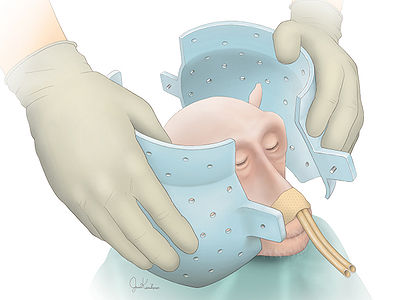
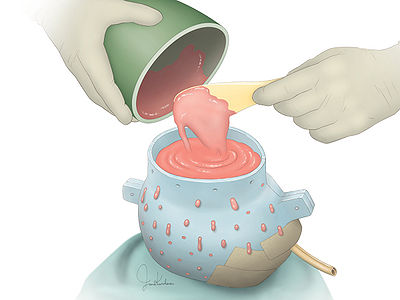
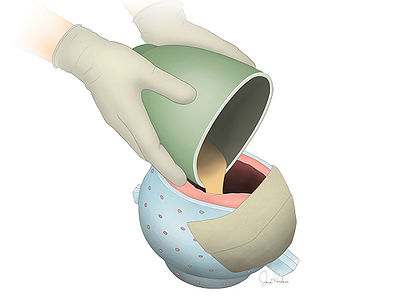
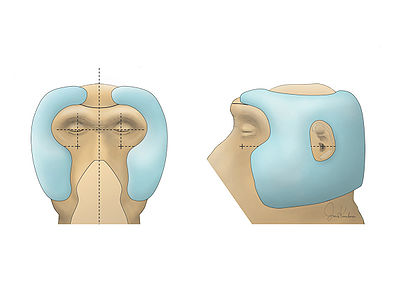
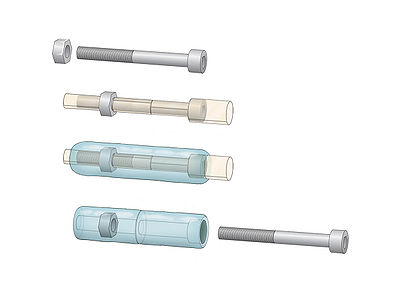
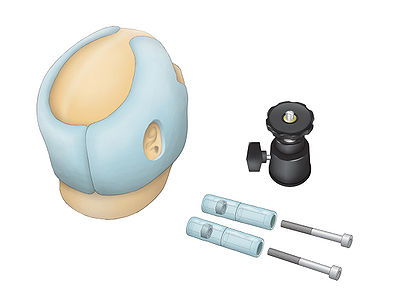
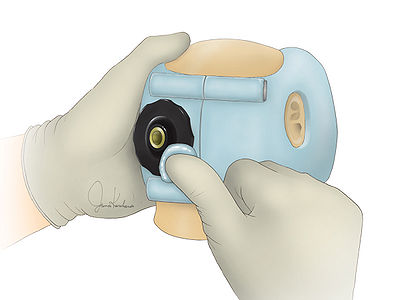
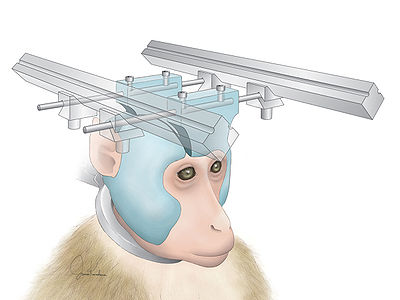
| + | Before the procedure, a pair of holders (depicted in blue) should be prepared; a plastic ball can be used for this. The holes on the holders work as anchors when impression material (see below) becomes fixed. | ||
| + | To get clear impression of a head, inner size of the holders might be 2cm larger than a head. | ||
| + | |||
| + | The animal is lightly anesthetized by Ketamine. | ||
| + | |||
| + | Rubber tubings are placed in nose with tapes and a few drops of glue to maintain animal's respiration. | ||
| + | |||
| + | Hair is removed to prevent impression material from catching the hair. | ||
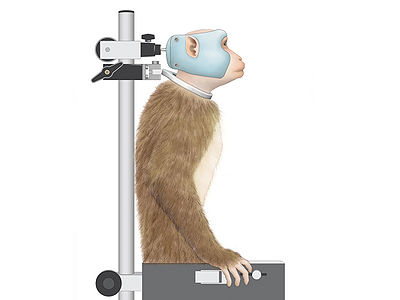
| + | For the same reason, the animal's torso have to be wrapped by a sheet of paper or cloth; here we use a surgical drape (water-proof). | ||
| + | |||
| + | TIPS: Hair-remove cream should be totally rinsed on a skin, or it will cause skin damage. | ||
| + | |||
|- | |- | ||
|[[File:HF02.jpg|400px]] || | |[[File:HF02.jpg|400px]] || | ||
Latest revision as of 15:19, 9 January 2014
Surgical illustrations ©2012 Juna Kurihara

