Difference between revisions of "Surgical Procedure"

From NeuroTychoWiki
Jump to: navigation, search
m
Line 2: Line 2:
 
|- Illustration || Procedures |
 
|- Illustration || Procedures |
 
|-
 
|-
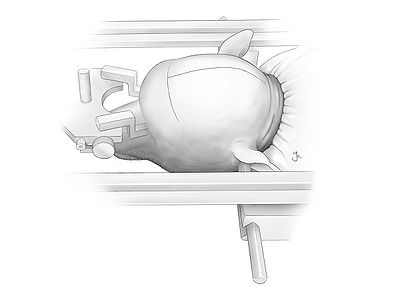
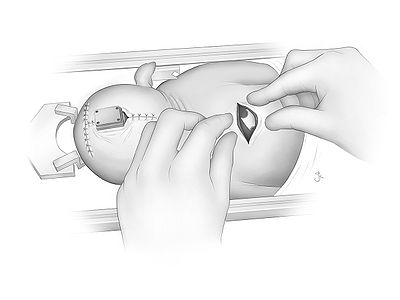
|[[File:Fig_01.jpg|400px]] || Anesthetize a monkey and fix the head on stereotaxic. Attach all of electrode for monitoring vital signal during surgery. Disinfect all of surgical area and cover the area with sterilized drapes.  
+
|[[File:Fig_1.jpg|400px]] || Anesthetize a monkey and fix the head on stereotaxic. Attach all of electrode for monitoring vital signal during surgery. Disinfect all of surgical area and cover the area with sterilized drapes.  
 
|-
 
|-
 
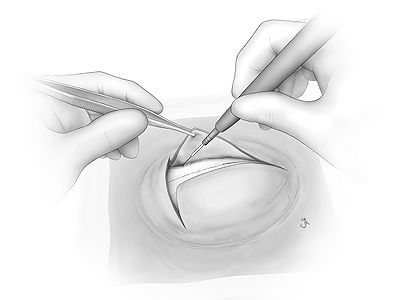
|[[File:Fig_02.jpg|400px]] || Incise a skin with a cautery knife. The galea aponeurotica is cut at the center and gently peeled off from skull with the knife.
 
|[[File:Fig_02.jpg|400px]] || Incise a skin with a cautery knife. The galea aponeurotica is cut at the center and gently peeled off from skull with the knife.

Revision as of 10:06, 11 August 2011

Fig 1.jpg Anesthetize a monkey and fix the head on stereotaxic. Attach all of electrode for monitoring vital signal during surgery. Disinfect all of surgical area and cover the area with sterilized drapes.
Fig 02.jpg Incise a skin with a cautery knife. The galea aponeurotica is cut at the center and gently peeled off from skull with the knife.
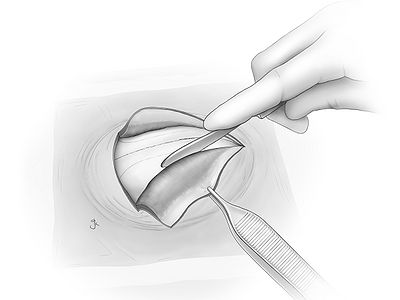
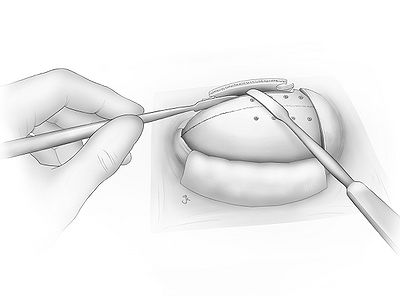
Fig 03.jpg The galea aponeurotica and temporal muscle are removed from skull with scraper until all of surgical area is exposed. Tissues on skull surface have to be wiped out and all of bleeding has to be completely stopped.
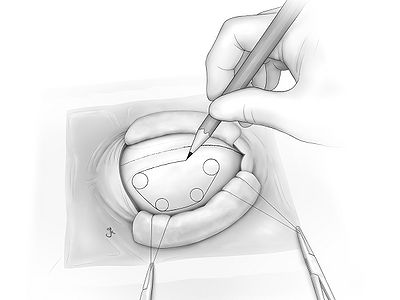
Fig 04.jpg Edge of the skin and the muscles are wrapped with moistened gauze. The gauze has to be kept moistened during the surgery.Traction sutures are put at skin edge under the gauze and the suture is pulled out to ensure a sufficient working space. Drawing a planned area of craniotomy on the skull with a pencil. Circle is where burr hole will be put and lines are where craniotome will cut the skull.
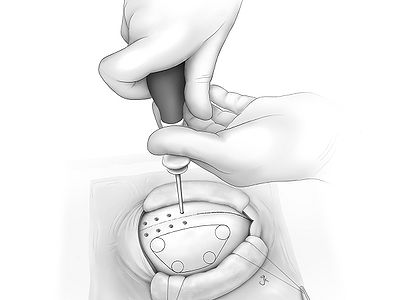
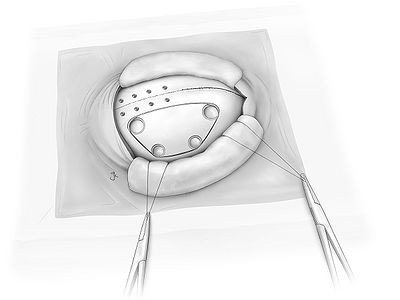
Fig 05.jpg Titanium screws are implanted as an anchor for fixing a connector on the skull. This can be done after completing ECoG implantation, but it might be safer to do before craniotomy.
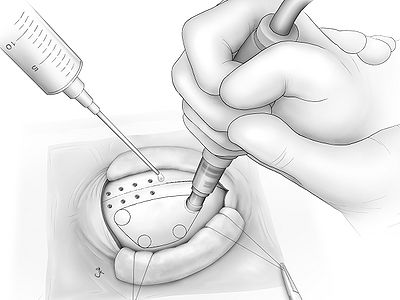
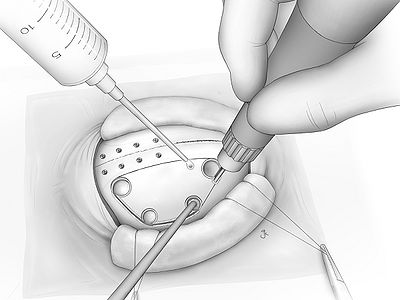
Fig 06.jpg Burr holes are made with a perforator. The perforator has to be placed perpendicular to the bone surface and should not stop or pull out until the drill stops. It stops automatically when it penetrates the bone. During drilling the bone, drop a saline at the hole with syringe for cooling and washing out drilled bone.
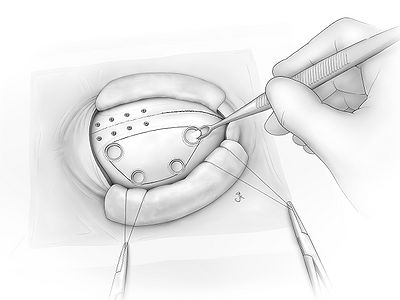
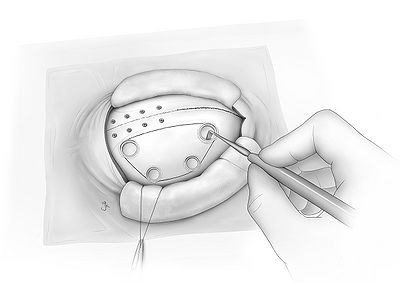
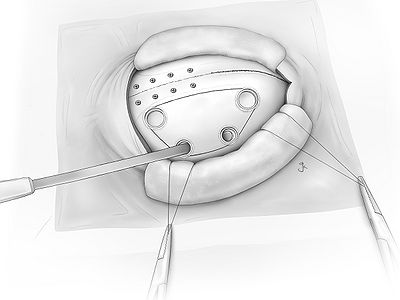
Fig07.jpg At the bottom of burr hole, there is a very thin bone flap left. Remove the flap carefully with curette.
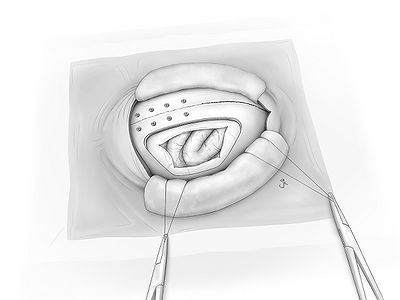
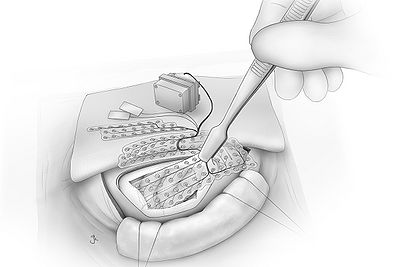
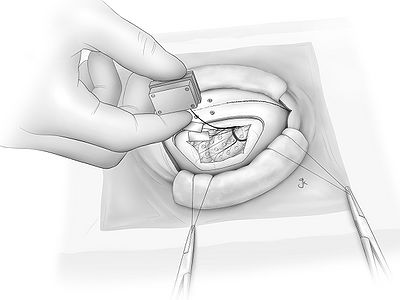
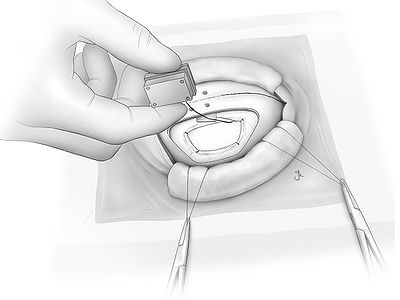
Fig08.jpg (figure 8)
Fig09.jpg (figure 9)
Fig10.jpg (figure 10)
Fig11.jpg (figure 11)
Fig12.jpg (figure 12)
Fig13.jpg (figure 13)
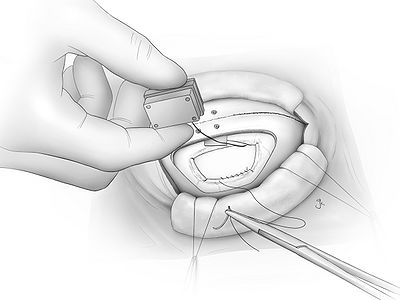
Fig14.jpg (figure 14)
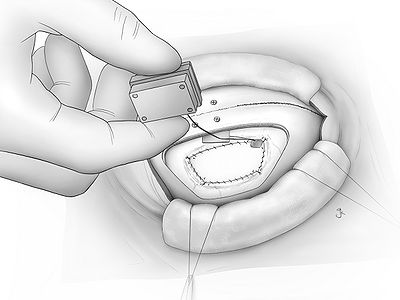
Fig15.jpg (figure 15)
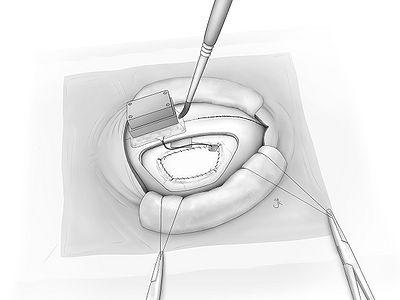
Fig16.jpg (figure 16)
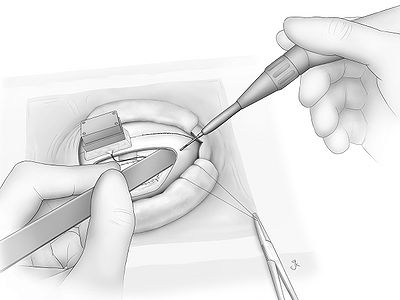
Fig17.jpg (figure 17)
Fig18.jpg (figure 18)
Fig19.jpg (figure 19)
Fig20.jpg (figure 20)
Fig21.jpg (figure 21)
Fig22.jpg (figure 22)
Fig23.jpg (figure 23)
Fig24.jpg (figure 24)
Fig25.jpg (figure 25)
Fig26.jpg (figure 26)
Fig27.jpg (figure 27)
Fig28.jpg (figure 28)
Fig29.jpg (figure 29)
Fig30.jpg (figure 30)

Surgical illustrations courtesy of [Juna Kurihara]